

Settings.
Step 1: Choose Your Agent
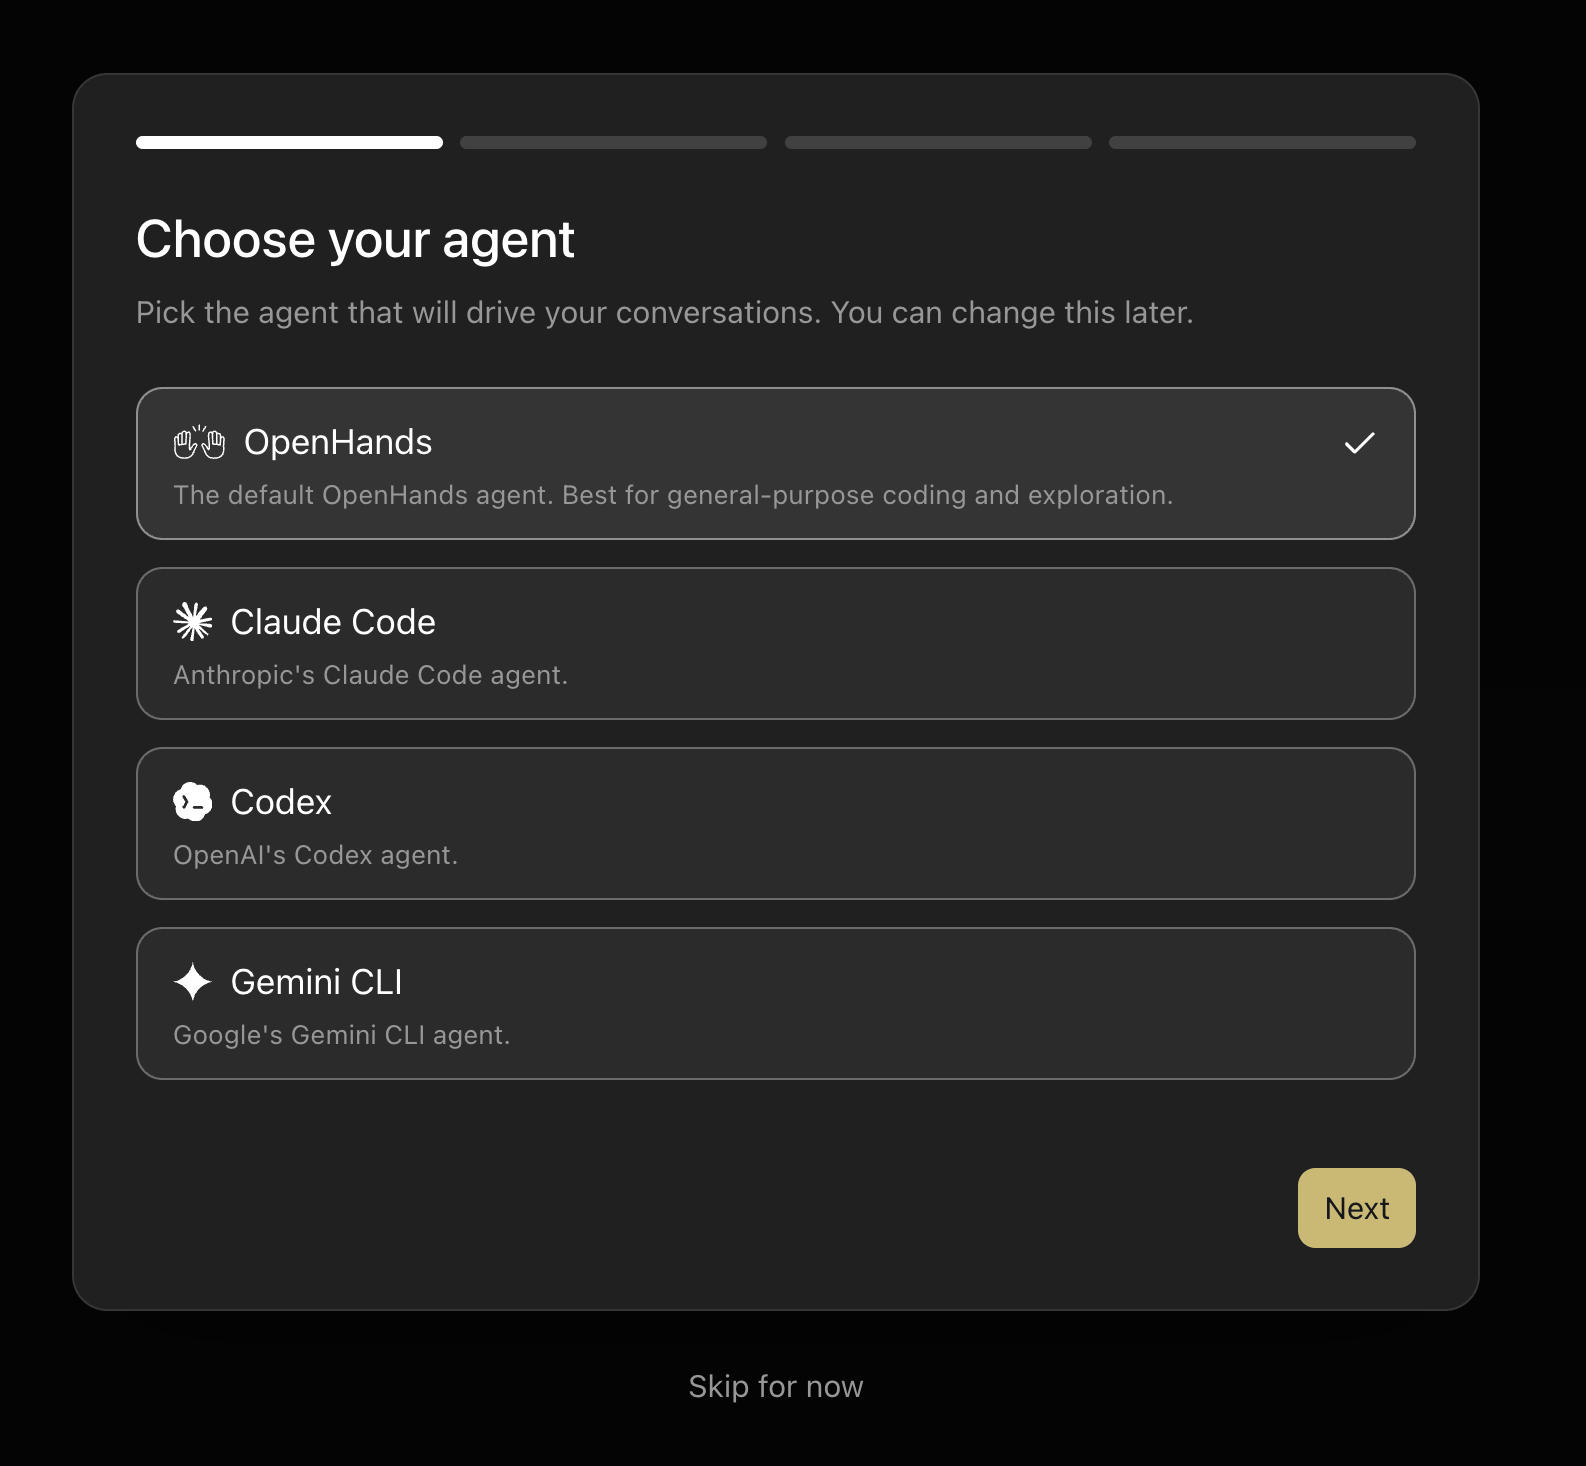
- OpenHands (selected by default) — the general-purpose OpenHands agent, best for coding and exploration.
- Claude Code — Anthropic’s Claude Code agent.
- Codex — OpenAI’s Codex agent.
- Gemini CLI — Google’s Gemini CLI agent.
Settings > Agent.
Step 2: Check Your Backend
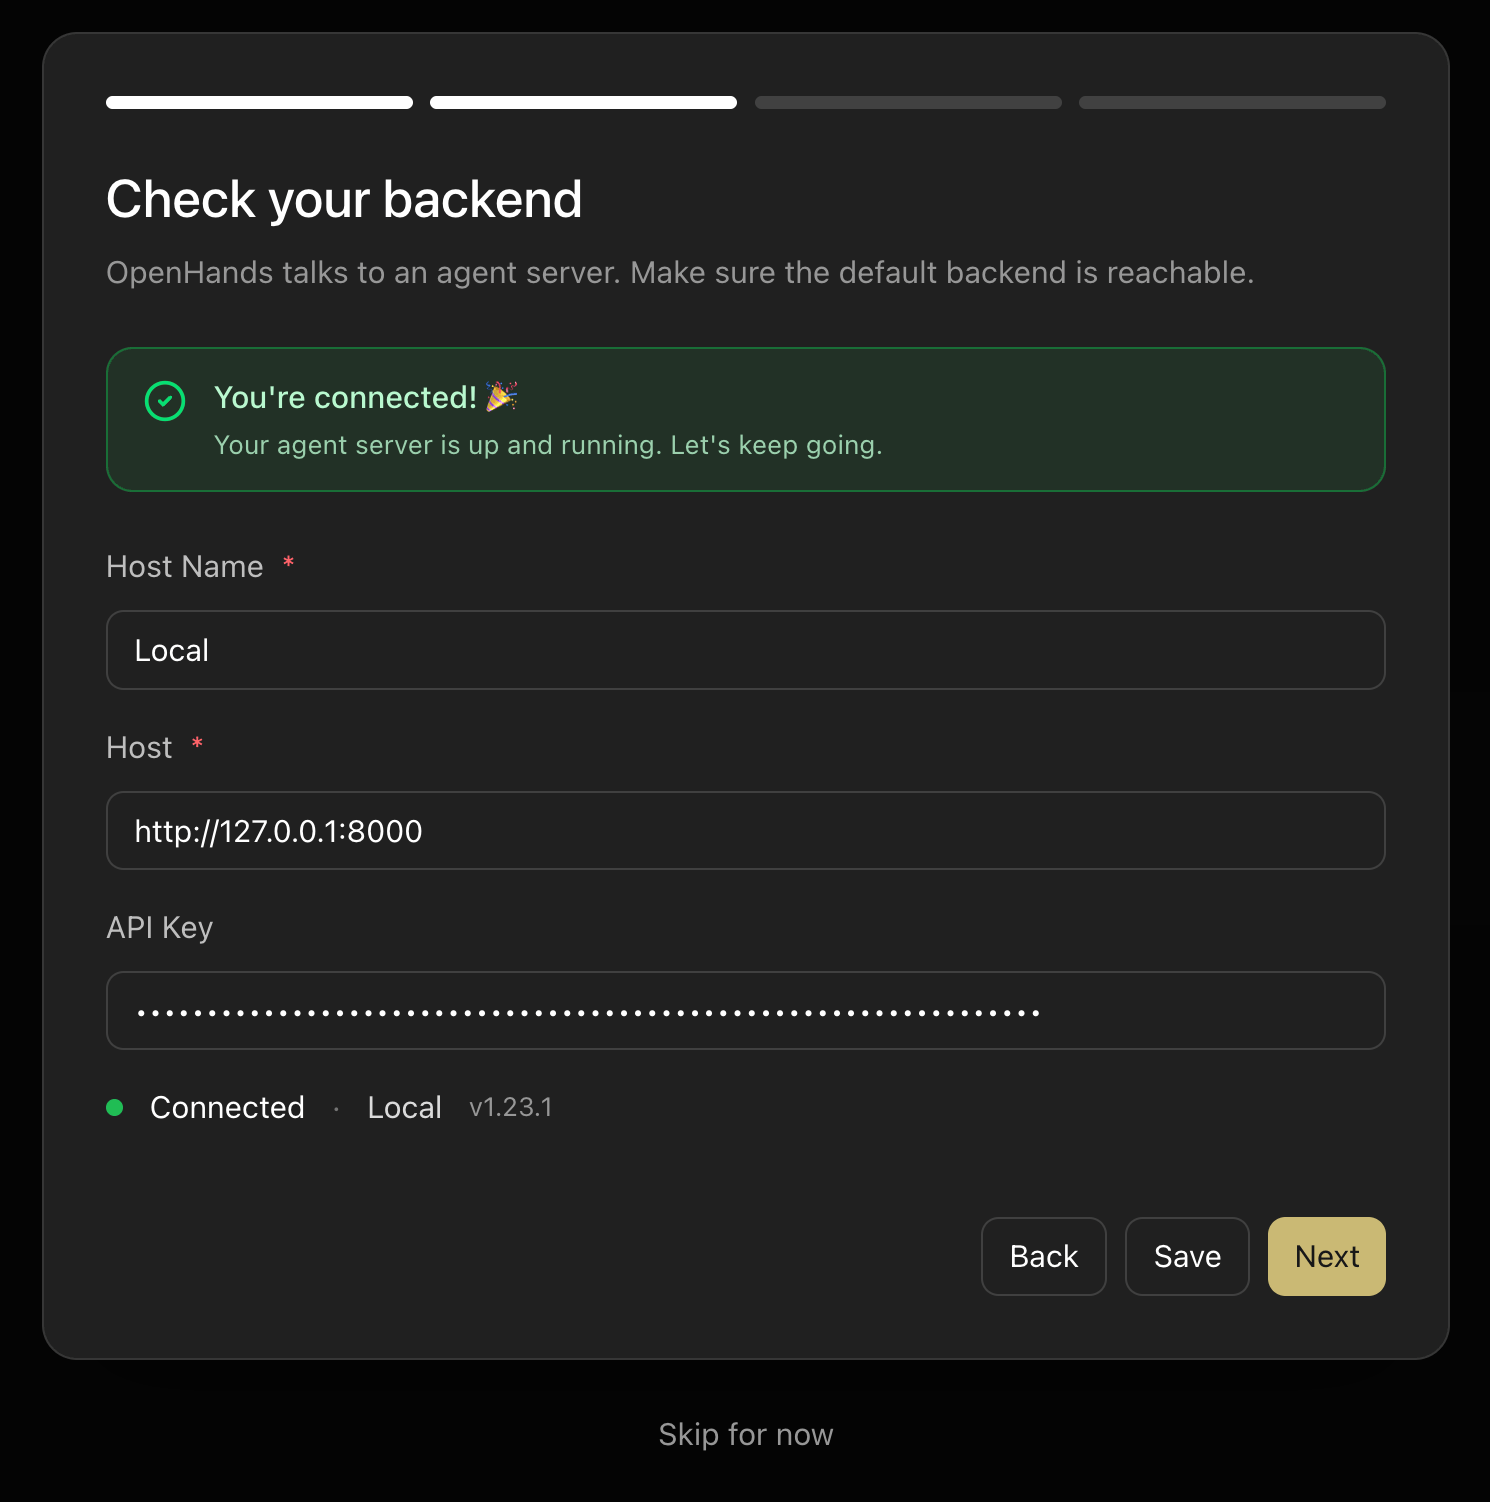
http://127.0.0.1:8000), which is ideal for working on local projects.
The setup screen shows your current backend connection status. If the server is running, you’ll see a “You’re connected!” confirmation.
Each backend entry stores:
- A display name (e.g.
Local) - A host URL
- An optional API key
To add remote or cloud backends, or to manage multiple backend connections, see Connect and Manage Backends.
Step 3: Set Up Your LLM
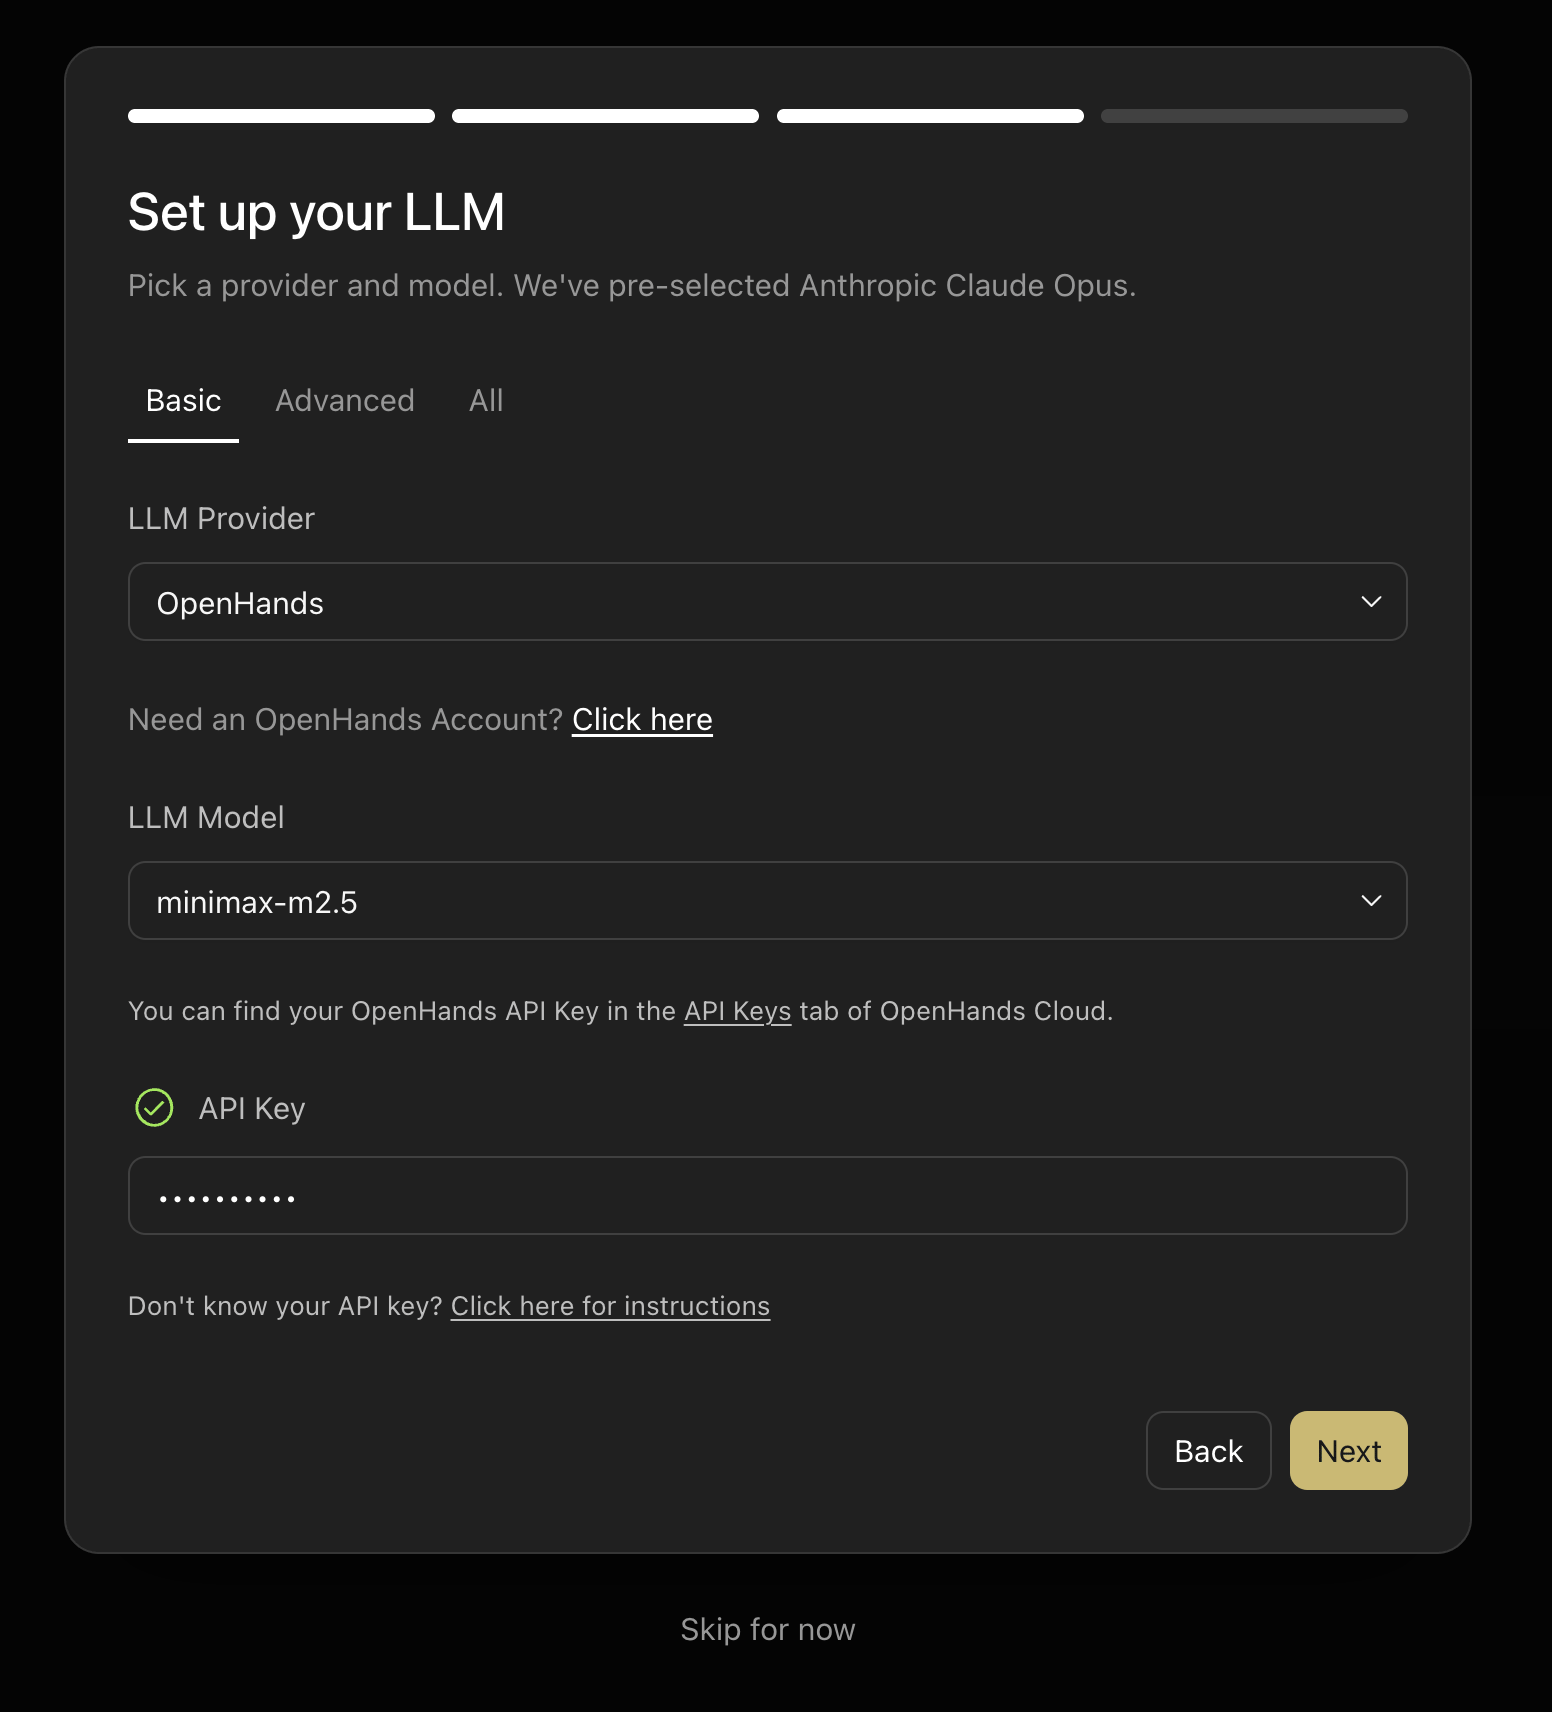
- Direct provider keys — use your own API key from Anthropic, OpenAI, Google, or any other supported provider.
- OpenHands Cloud — use an OpenHands Cloud API key to access verified models without managing provider accounts directly. Find your API key in the
API Keystab of OpenHands Cloud.
OpenHands as the provider and pre-selects a recommended model. Switch the LLM Provider dropdown to choose a different provider.
The default model is OpenAI GPT-5.6 Sol, and DeepSeek V4 Flash is the free OpenHands-routed model. When adding an OpenHands provider connection, the provider field is a searchable supported-provider selector rather than free text.
For OpenHands Agent Profiles, this LLM setup becomes the model profile the agent uses. ACP agents such as Claude Code, Codex, and Gemini CLI use their own authentication and model configuration.
Step 4: Start From a Proven Workflow
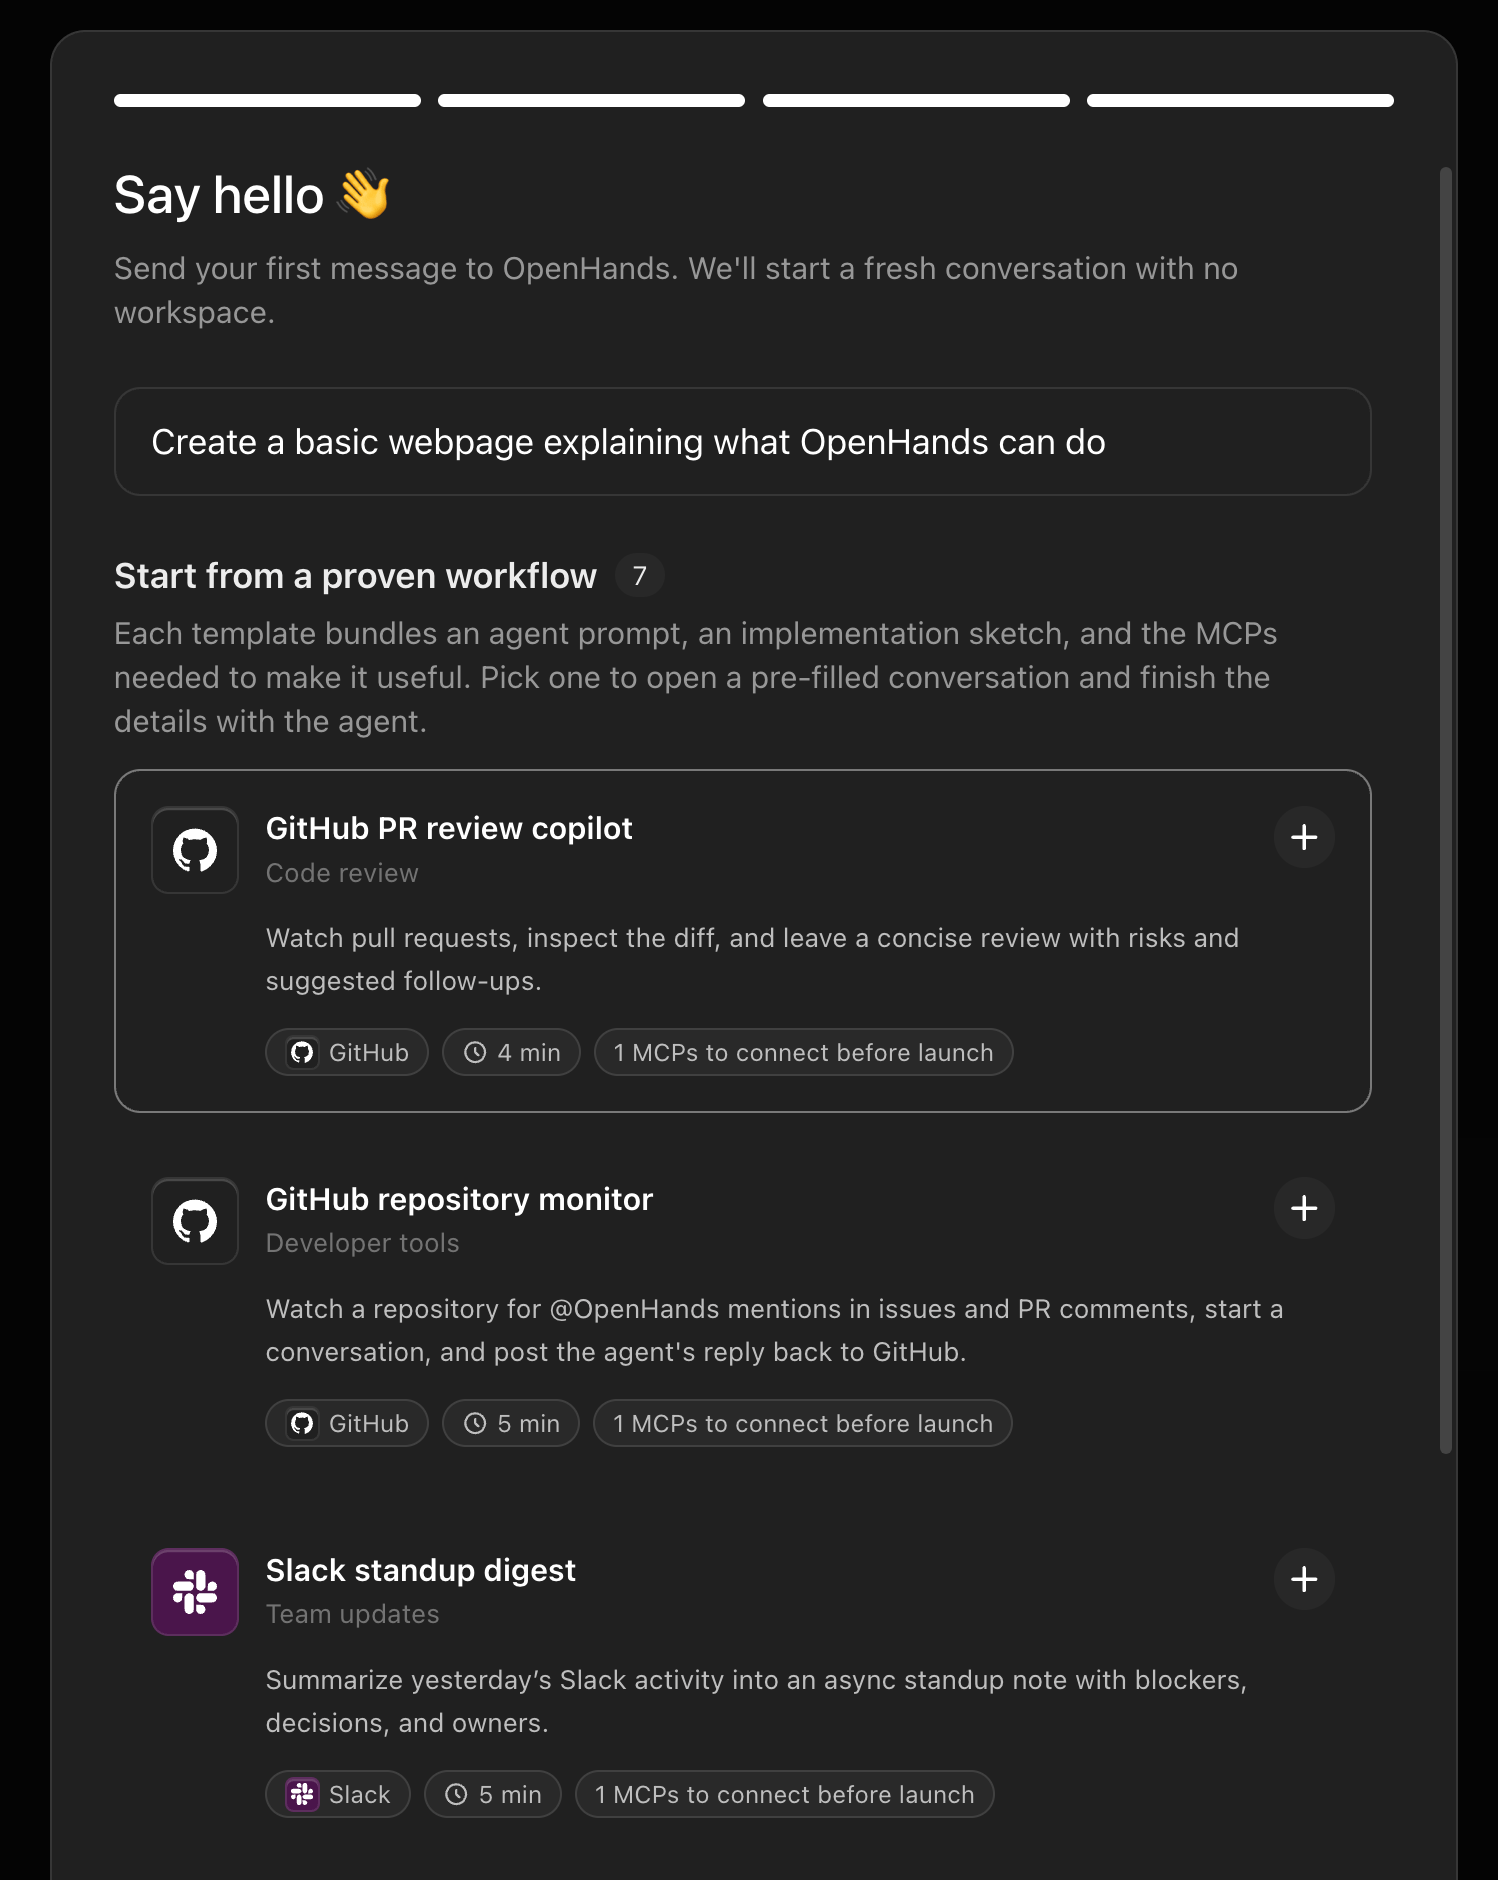
- GitHub Repository Monitor — watch a repository for
@OpenHandsmentions and respond automatically. - Slack Standup Digest — summarize yesterday’s Slack activity into an async standup note.
Automate view at any time. See Pre-built Automations for the full list.
Getting Started Checklist
After completing the setup wizard, a Getting Started checklist appears in the sidebar. It guides you through the core first actions:- Set up your LLM — links to
Settings > LLM - Connect MCP servers — links to
Customize > MCP - Start a conversation — links to
Conversations - Explore automations — links to
Automate - Customize your agent — links to
Customize - Review settings — links to
Settings
Toggle the checklist from
Settings > Application using the Show getting started checklist switch. The setting persists across sessions.Super Admin Setup Guide
On OpenHands Enterprise backends where the first Super Admin has the setup guide enabled, Agent Canvas shows the same setup guide as the OHE dashboard: a floating panel in the lower-right corner that collapses to a pill. It lists the same four steps in the same order, with the same n/4 progress, and links back to OHE for the steps that live there. The guide appears only for the first Super Admin, while the guide has an organization and is not dismissed. Everyone else, and local backends, see no guide. While the guide is loading or shown, the “Getting started” checklist is hidden; it stays for everyone else. Progress is re-read on each navigation, so an automation created from a template in Canvas ticks its step. When you complete a step in Canvas — creating an automation directly from a template, or adding an MCP server — the guide opens the next step. A step finished out of order, or one the server does not confirm, opens nothing. An assisted setup that only starts a conversation does not report the step. Closing the panel collapses it to the pill until the next page load. Dismissing the guide stays on the OHE guide page.Customize your Agent Canvas
When you are ready to go beyond the default setup, choose the mechanism that fits the task:- Add repository-wide guidance with
AGENTS.mdfor each Workspace. - Add reusable task instructions with Skills.
- Connect external tools through MCP.
- Add packaged capabilities with Plugins.
- Automate repeated work with Automations.